Nexus Elements Quickstart
Nexus Elements is a shadcn-style component library built on top of @avail-project/nexus.
Simply install components via the shadcn CLI, wrap your app with the NexusProvider, and render the required component.
- The UI primitives required by components (Accordion, Dialog, Input, etc.) are installed automatically by the CLI via registry dependencies.
- Refer to the Nexus Elements page for detailed usage docs.
Clone the template repo
We created a template repo that you can clone to get started with Nexus Elements in under 5 minutes. Clone the repo by running this command in your terminal:
git clone https://github.com/availproject/nexus-elements-templateInstall dependencies
Recommended Node & NPM versions:
We recommend using: Node V22 and npm V10 for the best experience.
Install the required dependencies:
pnpm
pnpm installCreate a WalletConnect Project ID
Go to walletconnect.com and create a new project.
Copy the Project ID and add it to the .env file at the root of the project:
VITE_WALLETCONNECT_PROJECT_ID=your_walletconnect_project_idInstall two of the Nexus Elements
Run the following commands in your terminal to conveniently install two pre-configured Nexus Elements:
pnpm
pnpm dlx shadcn@latest add @nexus-elements/unified-balance
pnpm dlx shadcn@latest add @nexus-elements/fast-bridgeEnable the Nexus provider
For the Nexus SDK to initialize, you need to wrap your app with the NexusProvider component.
Go to src/providers/Web3Provider.tsx, and uncomment the NexusProvider import as well as the wrapper around {children}.
The file should now look something like this:
import "@rainbow-me/rainbowkit/styles.css";
import { getDefaultConfig, RainbowKitProvider } from "@rainbow-me/rainbowkit";
import { WagmiProvider } from "wagmi";
import { `All the chains you want to support`} from "wagmi/chains";
import { QueryClientProvider, QueryClient } from "@tanstack/react-query";
import NexusProvider from "@/components/nexus/NexusProvider";

const walletConnectProjectId = import.meta.env.VITE_WALLETCONNECT_PROJECT_ID;

const config = getDefaultConfig({
  appName: "Nexus Elements",
  projectId: walletConnectProjectId,
  chains: [`All the chains you want to support`],
});

const queryClient = new QueryClient();

const Web3Provider = ({ children }: { children: React.ReactNode }) => {
  return (
    <WagmiProvider config={config}>
      <QueryClientProvider client={queryClient}>
        <RainbowKitProvider modalSize="compact">
          <NexusProvider
            config={{
              network: "mainnet",
              debug: true,
            }}
          >
          {children}
          </NexusProvider>
        </RainbowKitProvider>
      </QueryClientProvider>
    </WagmiProvider>
  );
};

export default Web3Provider;
Wire up the app components
Open src/App.tsx. You can either:
Paste the snippet below into src/App.tsx or:
- Uncomment all the code blocks that are commented out.
- Remove the
NexusDepositcomponent.
/**
 * Uncomment lines after installing any Nexus Element
 * @from https://elements.nexus.availproject.org/
 */

import Header from "./components/header";
import { Button } from "./components/ui/button";
import { LoaderPinwheelIcon } from "lucide-react";
import { Label } from "./components/ui/label";
import { useNexus } from "./components/nexus/NexusProvider";
import { useAccount } from "wagmi";
import UnifiedBalance from "./components/unified-balance/unified-balance";
import { type EthereumProvider } from "@avail-project/nexus";
import FastBridge from "./components/fast-bridge/fast-bridge";

function App() {
  const { connector, status, address } = useAccount();
  const { handleInit, nexusSDK, loading } = useNexus();

  const init = async () => {
    try {
      const provider = (await connector?.getProvider()) as EthereumProvider;
      await handleInit(provider);
    } catch (error) {
      console.error("Error initializing Nexus:", error);
    }
  };

  return (
    <div className="w-full min-h-screen overflow-hidden">
      <Header />
      <div className="flex flex-col gap-y-4 items-center justify-center w-full min-h-screen border border-border">
        <p className="text-center text-2xl font-bold">
          Nexus Elements Template
        </p>
        <a
          href="https://elements.nexus.availproject.org/"
          target="_blank"
          rel="noopener noreferrer"
        >
          <p className="text-center text-xl font-semibold text-primary underline">
            Install Nexus Elements
          </p>
        </a>

        {!nexusSDK && status === "connected" && (
          <Button onClick={init}>
            {loading ? (
              <LoaderPinwheelIcon className="size-5 animate-spin" />
            ) : (
              "Initialize Nexus"
            )}
          </Button>
        )}
        <div className="flex items-start gap-x-4 w-full max-w-6xl">
          {nexusSDK && (
            <div className="w-full flex flex-col items-center gap-y-3">
              <Label className="w-fit font-semibold text-xl">
                Unified Balance
              </Label>
              <UnifiedBalance />
            </div>
          )}
          {nexusSDK && address && (
            <div className="w-full flex flex-col items-center gap-y-3">
              <Label className="w-fit font-semibold text-xl">Fast Bridge</Label>
              <FastBridge connectedAddress={address} />
            </div>
          )}
        </div>
      </div>
    </div>
  );
}

export default App;
Run the app
Run the app by running the following command in your terminal:
pnpm
pnpm run devConnect your wallet and initialize the Nexus SDK
At this point your screen should look something like this:
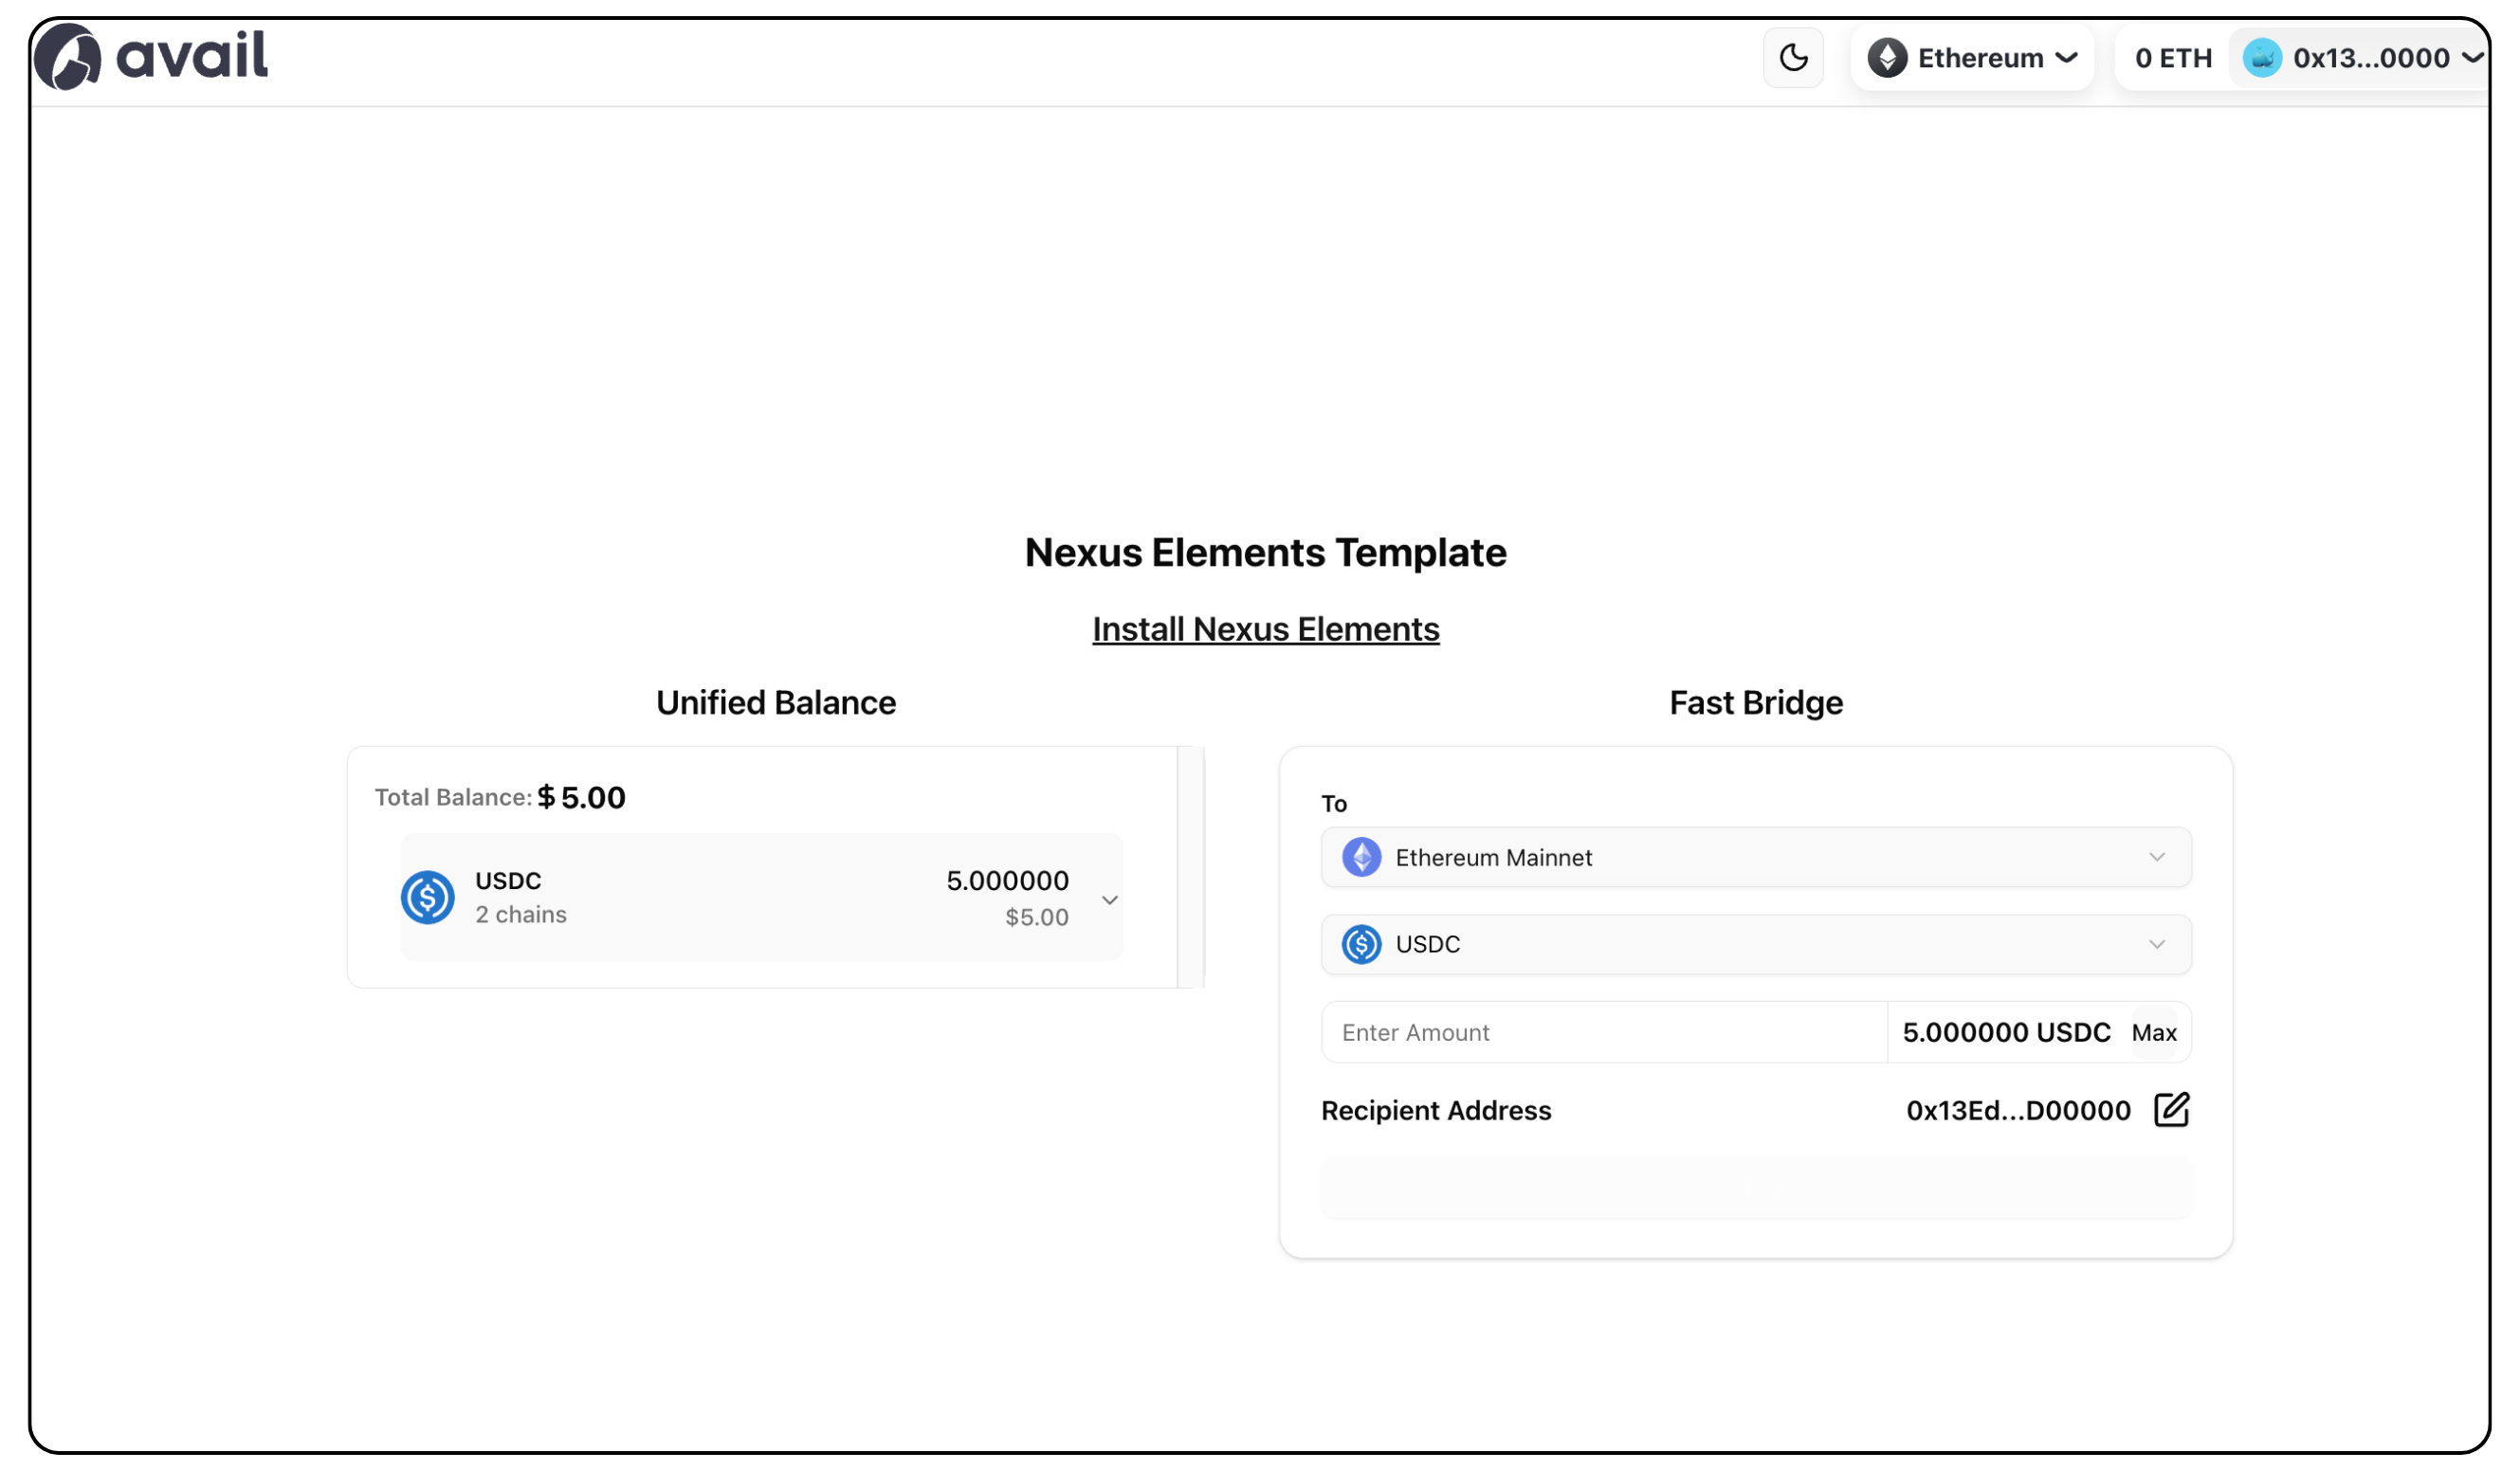
Next Steps
Congratulations on finishing the quickstart! Feel free to explore the following resources to learn more about Nexus Elements: